REST API: A practical introduction
The goal of this post is to give you a practical introduction to HTTP based REST APIs, or RESTful APIs. Many applications in the world are providing APIs based on a REST architecture. I think you should have at least an basic understanding what it is, how to interact with it and why it can be helpful for you.
During the post, I will show you a basic example for the interaction with the REST API using a Cisco Prime Infrastructure. The quickest way to get an REST client is to use Google Chrome with Postman 3, which is available in the Chrome Web Store.
One quick note before we start: If you are already familiar with RESTful architectures and services, I don’t think you will get many new information from this post, but you’re welcome to refresh your knowledge or leave a comment with additional information at the end of this post.
What is a REST API?
REST stands for “Representational State Transfer” and is part of a Resource Oriented Architecture (ROA). It becomes quite popular in the network industry within the last years and many vendors starts to open their applications using REST APIs. The first principles of REST were published by Roy Fielding as part of his doctoral dissertation in the year 2000. As you can see, this architectural style is not a brand new thing…
This architectural approach is focusing on the resources (or data), not on the function that should be provided by the API. It has by definition some constrains which should provide a better interoperability and scalability than other architectures. These formal REST constraints are:
- Client-Server
- Stateless (self-containing functions)
- Cacheable
- Layered System
- Code on demand
- Uniform Interface
When talking about REST from an architectural perspective, It doesn’t mean that you use HTTP to contact the APIs. By definition, REST is an architectural style, which does not include a hard definition of protocols that must be used. HTTP is just an example, but the main implementations of REST APIs are based on HTTP/HTTPs because it matches the formal REST constraints in many ways.
When I use the term REST APIs in this post, it focus on HTTP/HTTPs based REST APIs. Lets have a closer look how HTTP can be used to interact with a REST API.
HTTP, URI’s and Status Codes
I think every Network Engineer has at least a basic understanding how HTTP work, therefore I will skip a full explanation of the protocol. I will just review some basics that are required for the further understanding.
To address a REST API endpoint, a Uniform Resource Identifier (URI) is used. The format of a URI should be well known, but I will describe it briefly to have a foundation for the further explanations. A URI has two parts: a Uniform Resource Locator (URL) and a Uniform Resource Name (URN). The first part represents the location of a specific resource on a computer network and defines a mechanism for retrieving it. The second part is the name of a web resource, for example
http://labor-cpiis our URL/webacs/api/v1/Deviceis our URN
The HTTP protocol defines four verbs to interact with a server: GET, POST, PUT and DELETE. These are also used as the basic operations when working with any REST API. To signal the result of a call, the well-known HTTP status codes are used, e.g. 200 for “OK“ or 404 for “Not Found”. As you might see, working with REST APIs is like the navigation between websites.
Authentication and Security
To ensure a certain level of security, many rest APIs use similar authentication and security mechanisms. The data protection part is quite easy: HTTPs is used to encrypt the traffic between the Client and the API. The authentication story is a little bit more complicated. Some API’s allow GET requests without authentication, but at least when you need to modify data, an authentication is required. There are two common ways to implement it on REST APIs:
- Basic HTTP authentication, which lacks scalability and is not very secure because it is based on a Base64 hash of the username and password
- OAuth 1 or 2, which uses a token based authentication mechanism of API calls
The implementation if the OAuth protocol is also available in some flavors, which will go beyond the scope of this post. If you’re interested in a more detailed description, take a look at the official OAuth homepage.
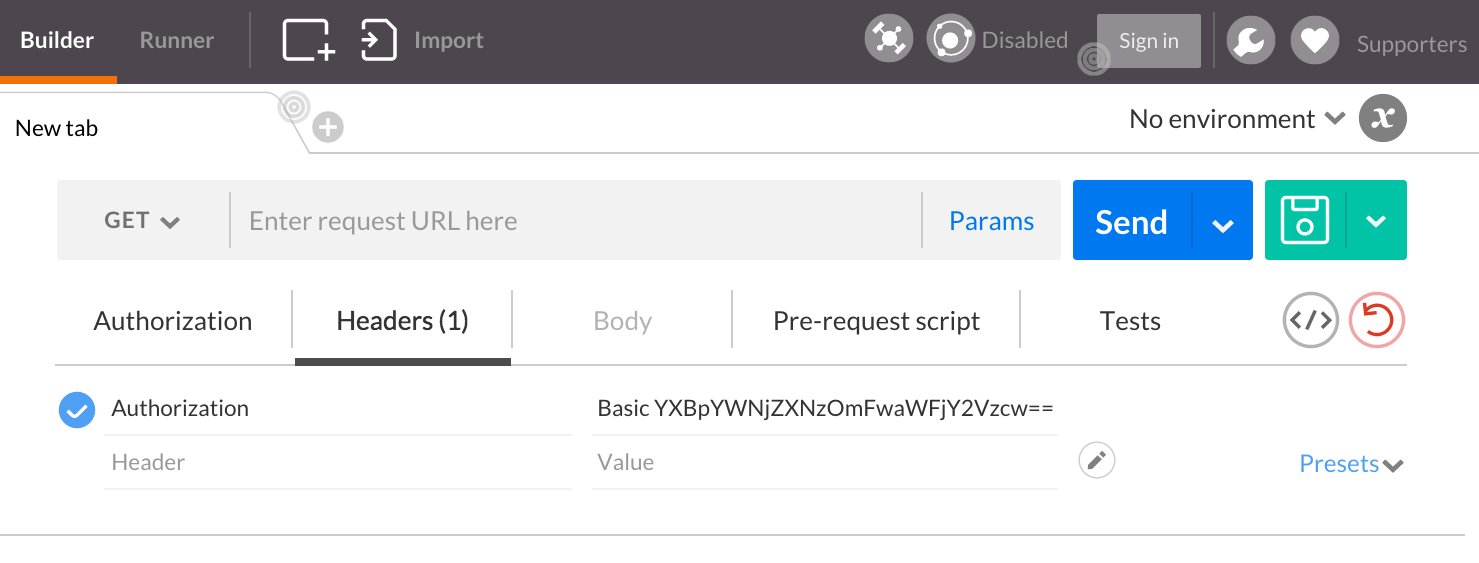
The Cisco Prime Infrastructure provides only Basic HTTP authentication. I’ll recommend that you create a separate account for the API access (using the predefined “Northbound API” groups), just in case you need to lock them. When you created the account, just select the “Basic Auth” option in Postman, enter your credentials and press update. You now will see an “Authorization” value in the Headers section which looks similar to the following screenshot.
Another interesting point is, that the API of the Cisco Prime Infrastructure is rate-limited. When there are to many API calls from a single client, the access will be denied and the response content is simply the login page. During my tests, this happened from time to times.
The elements of a REST API
You should now have a basic understanding, how we can access the resources on a REST API and how they are expressed on a protocol level. Now we need to go one step further. A REST API is mainly structured in two types of API endpoints:
- Collection URIs, which contains lists of elements
- Element URIs, as the name suggests, it represents a single element from the list
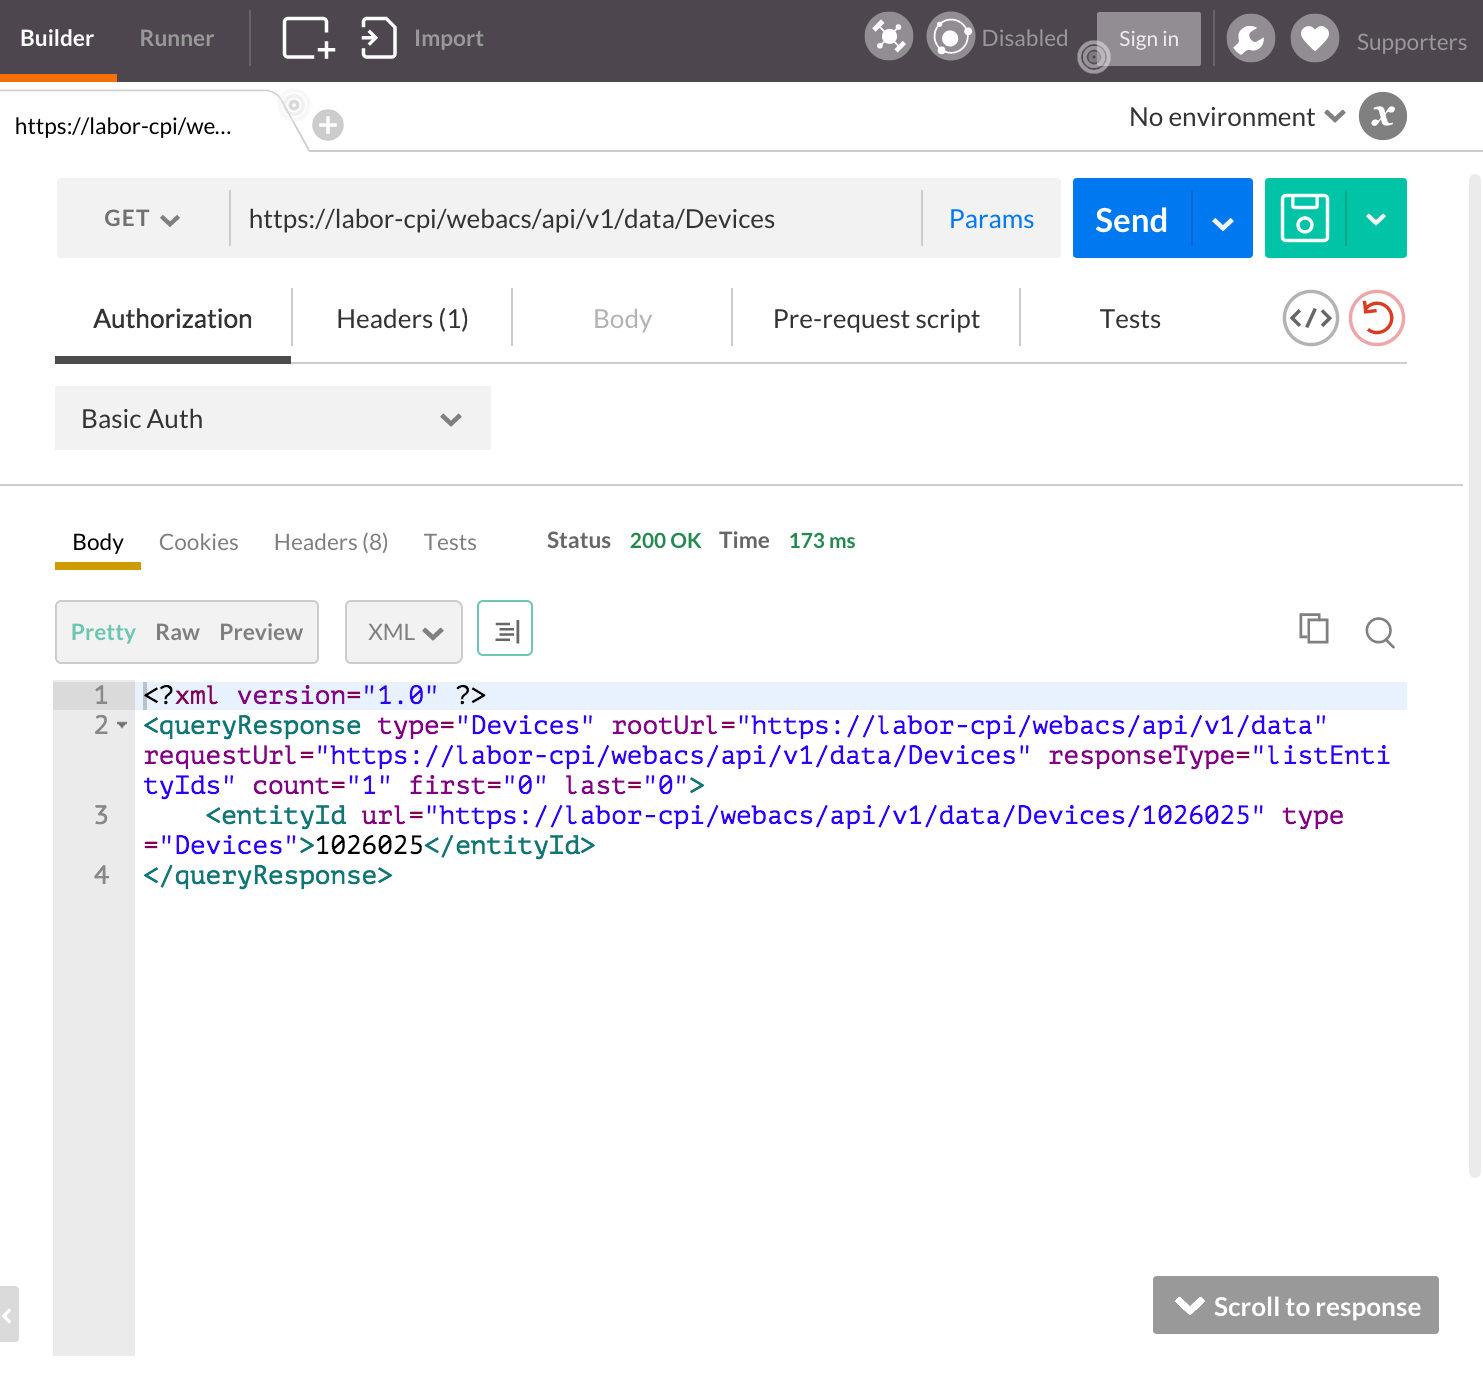
In our example on the Cisco Prime Infrastructure, we will work with a single endpoint: the “Device” API endpoint. It is located at https://labor-cpi/webacs/api/v1/data/Devices. This is a collection URI, because it provides a list with all device entries that exists in the database. The following screenshot shows the result of the devices collection endpoint on my demo system using the default XML format.
A specific device can now be picket from this lists and it links to the Element URI, for example at
https://labor-cpi/webacs/api/v1/data/Devices/1026025
This concept is quite similar in most API implementations. Sometimes there may be more hierarchies or they are more or less readable, but the concept is at it’s foundation layer the same.
The verbs that are available in HTTP can now be used with these API endpoints. In general, the four verbs are used for the following actions on a collection URI (the /webacs/api/v1/data/Devices):
- GET will return a list of the collection elements and other information (depends on implementation)
- PUT will replace the entire collection with another collection
- POST will create a new entry in the collection
- DELETE will delete the entire resource
On the element URI’s (e.g. the /webacs/api/v1/data/Devices/1026025), the actions are mostly the same:
- GET will retrieve a representation of the addressed element of the collection
- PUT will replace or create the addressed element
- POST is not generally used, but if this is the case, it will create another element
- DELETE will delete the addressed element
Data Formats
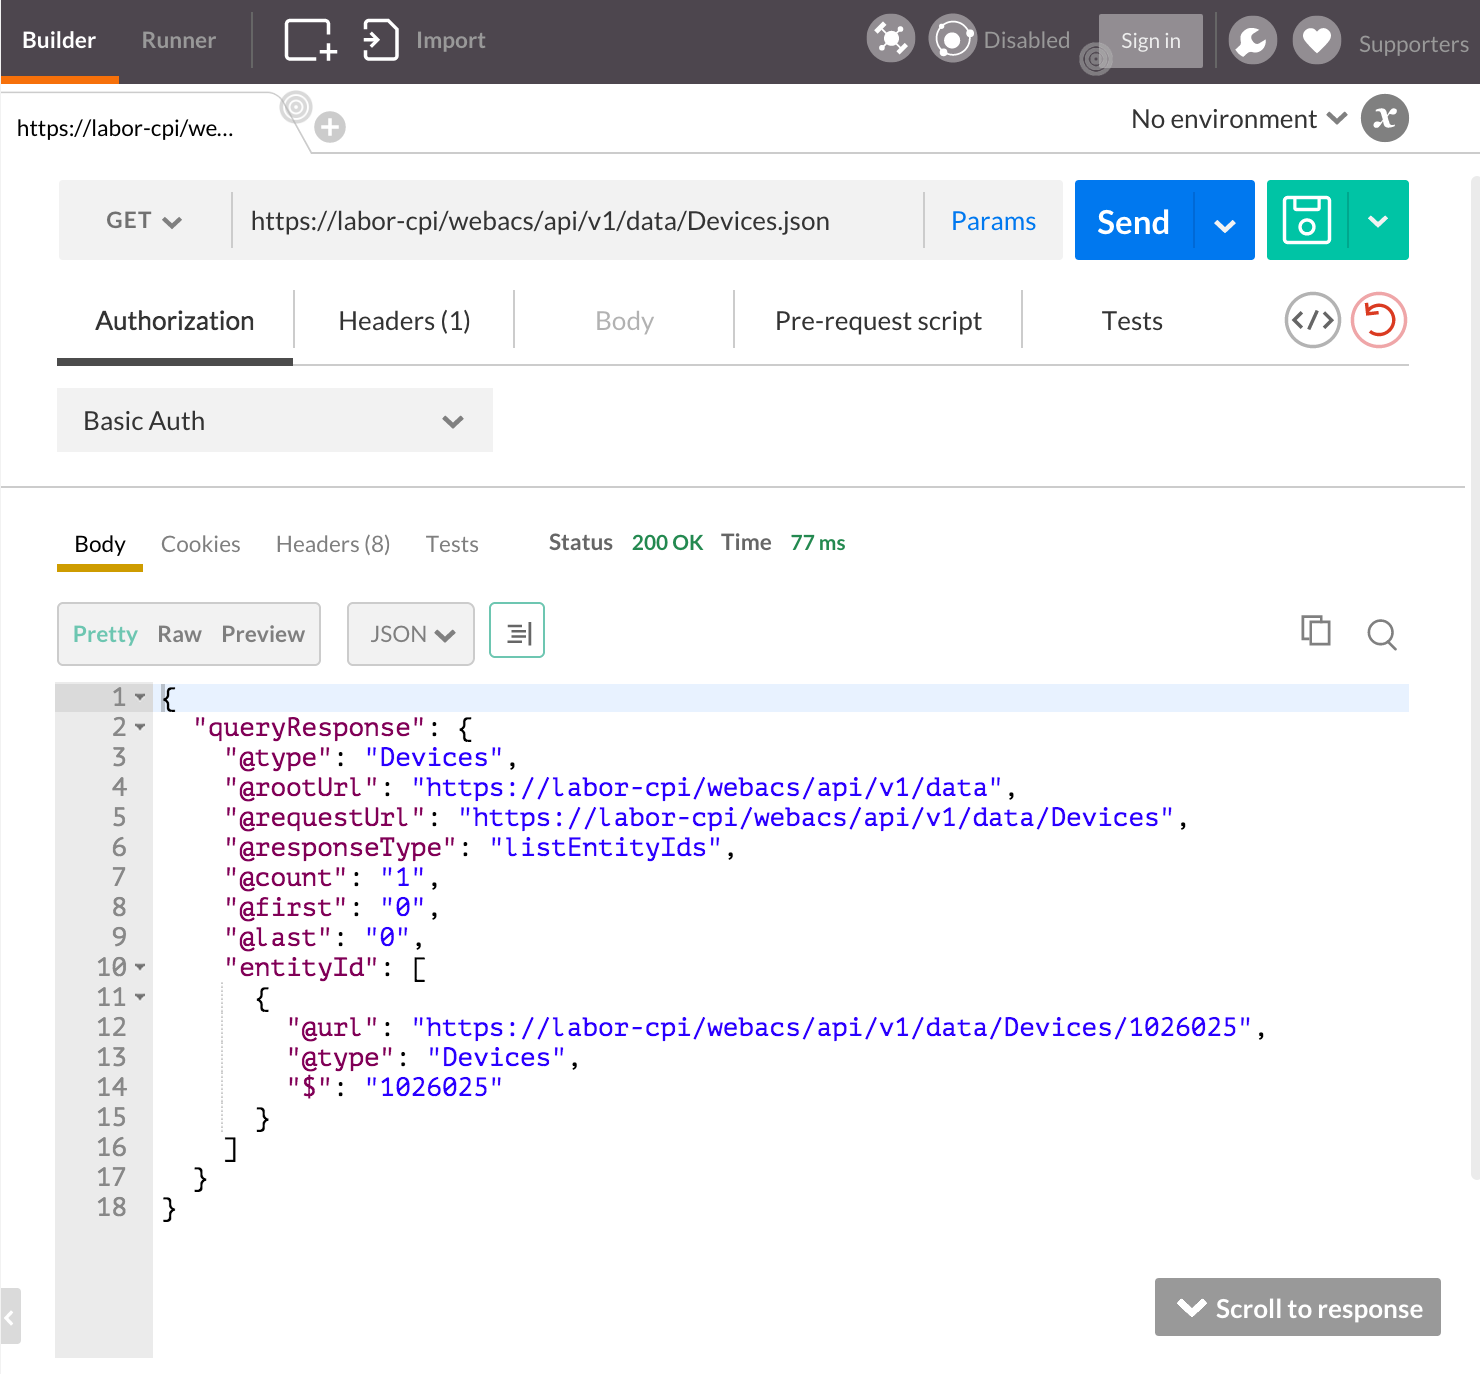
When working with REST APIs, there are primary two types of data formats for the results: JSON (JavaScript Object Notation) and XML (eXtensible Markup Language). In short: JSON is in most cases easier to parse and therefore more popular than XML. XML at the other hand has some more advanced features (which makes it more complex) in terms of result validation and navigation. At the end you must use what you get from the API, but I prefer JSON in most cases. The Cisco Prime Infrastructure will deliver by default XML results, but you can switch to a JSON formatted output when using “.json” at the end of the URI. A sample JSON output is shown on the following screenshot:
I won’t explain more details of the data structures in this post, because this is also another bigger topic, which will exceed the scope of this post.
Conclusion
I hope you get now an idea what a REST API is, what are the benefits of them and how to interact with it. Of course, the goal is NOT to use Postman to work with Cisco Prime Infrastructure or other applications. Instead, think about the use in a programmatic way. With just some lines of python code using for example the request-library, you can pull much information from an API. You can also trigger changes, if the API allows this.
One resource that was very helpful for me, was the free REST APIs tutorial at http://www.restapitutorial.com. It explains the concepts and the associated topics in more detail.
I think that is enough for this week. Now it is up to you. If you have a Cisco Prime Infrastructure or any other application that provides a REST API, try to talk with them using the Tools that I mentioned in this post. If you have no application with a REST API, you can also try the Public Cisco APIC-EM Sandbox. This tool provides an excellent API documentation using a Browser based interface. With this, you don’t need to install an application to get in touch with it, you can try it directly in your browser.
Thanks for reading.