Jupyter: an interactive web-based Python shell
I like to write about a tool today, that I used since several months to write python code for some smaller tasks: Jupyter. It provides a web-based python environment running on your local notebook or on a server. This is very useful from my perspective to get started with python programming, play with new libraries and share scripts.
I add Jupyter as a service to the Vagrant VM that is included in my python examples repository on GitHub.
What is Jupyter?
Jupyter is a great tool that provides a python environment in a web browser. It extends more or less the interactive python interpreter on the command line with a web-based user interface and some enhanced visualization capabilities (e.g. matplotlib). The environment is build around the idea of structuring code in notebooks. Every notebook contains multiple cells, that can contain python or markdown code. This gives you the ability to write code and document your process/thoughts on the fly.
What’s about IPython? IPython was the base of the Jupyter project. Since Version 4, IPython was split into two projects: Jupyter that provides the language agnostic part (the notebook format, message protocol etc.) and IPython which is a Kernel for Jupyter that focuses mainly on Scientific Computing and Data Science applications. It is also not limited to python as a programming language. The Jupyter environment can be extended with additional kernels, e.g. for Ruby and R.
Try Jupyter online
If you like to try Jupyter directly on your browser without any installation, you can simply use a temporary notebook session at https://try.jupyter.org. Within this environment you find good examples, what’s possible within the Jupyter environment.
Install Juypter on your local system
If you like to run Jupyter notebooks on your local system, you just need to install it using pip:
$ pip install jupyterAfter this, you simply need to run the following command to start a local Jupyter environment:
$ jupyter notebookIt will open your default web browser with the URL pointing to your environment (normally http://localhost:8888). You can also add a configuration file, for example to change the notebook directory. Further information on this can be found in the Jupyter documentation.
Use Jupyter in the python examples Vagrant VM
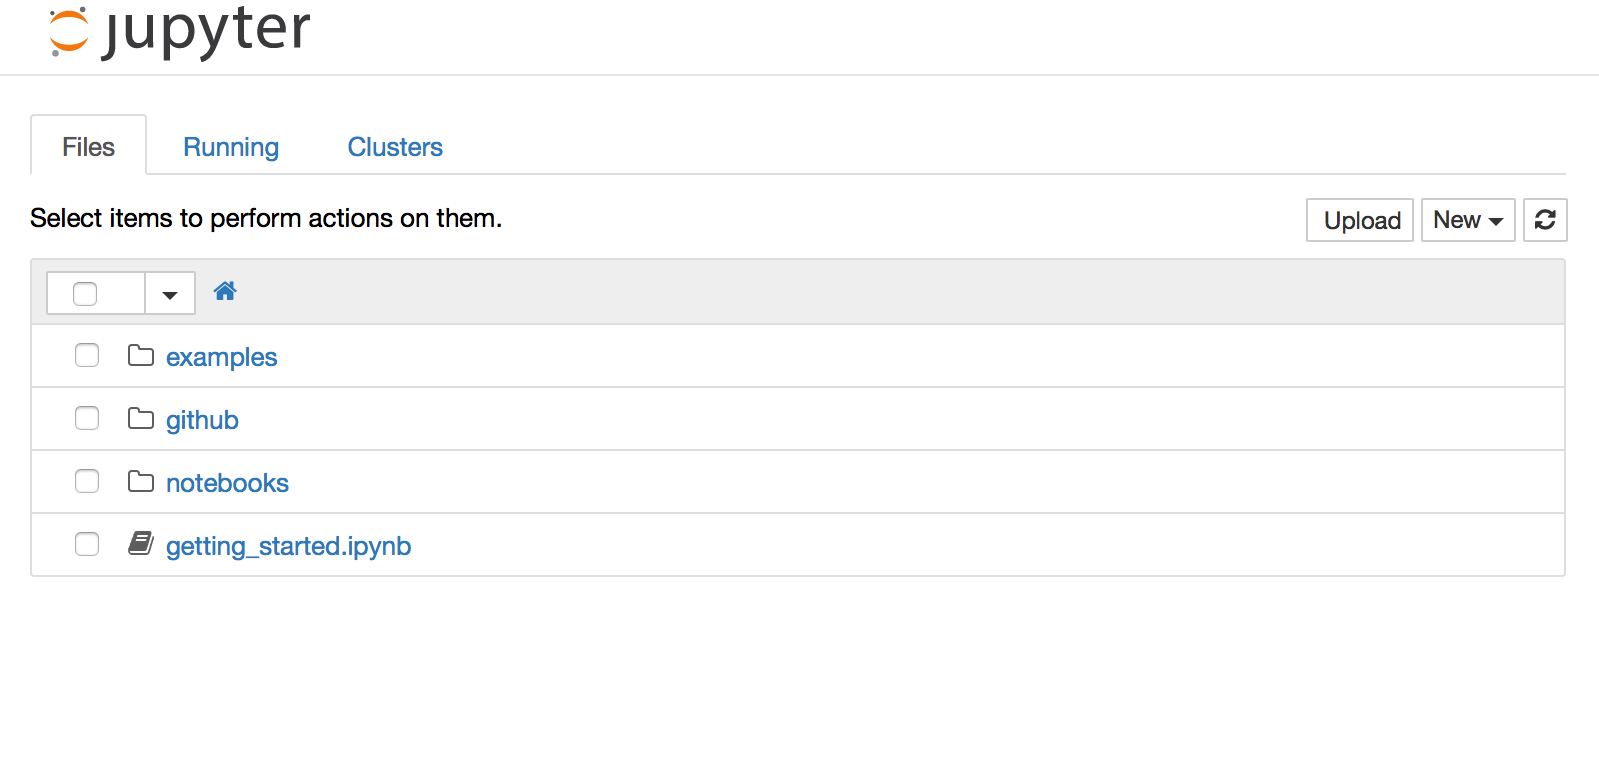
I add the preconfigured Jupyter web application to my python examples repository on GitHub. After the starting the Vagrant VM, you reach the Jupyter web application at http://127.0.0.1:8080. The website should look like the following screenshot:
The environment is pre-configured during the installation/provisioning process with the following options:
- The home directory of the web application is set to
/home/vagrant/and contains the following three directories:- A link to the notebooks directory of the repository
- A link to the root directory at
/vagrant - A folder that contains the GitHub repositories that are cloned during the initial provisioning
- A startup script to enable the import of notebooks in other notebooks
- The local python installation is extended with the libraries that were earlier topics on this blog (e.g. ciscoconfparse)
On the homepage of the Jupyter website, you can upload documents, create new notebooks or text documents on the server. Furthermore, you can also open a terminal session to the local server directly on the Jupyter website.

Now let’s have a look at the notebook interface.
The Jupyter notebook interface
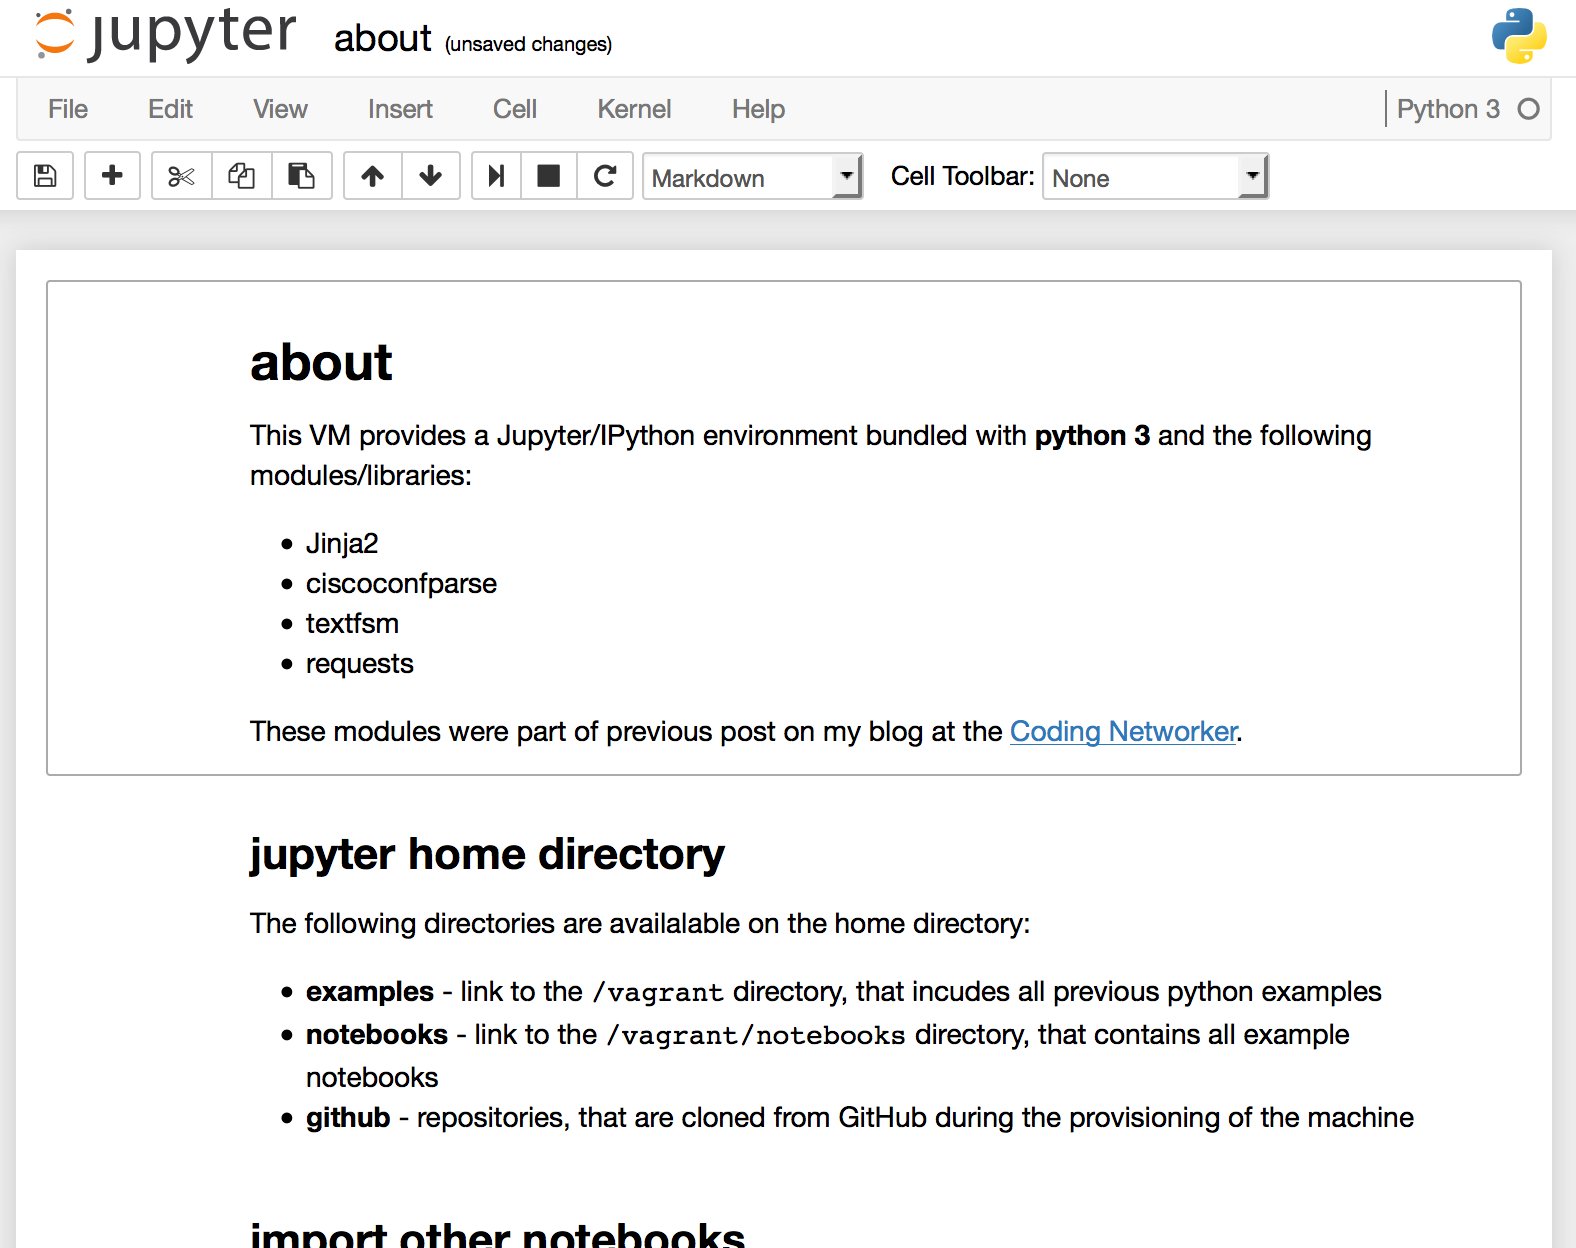
After you start the Vagrant VM from the python examples repository, you’ll find an “about” notebook at the top of the directory tree. If you open the notebook, it will start a python kernel on the server and connect the web application using WebSockets. In the about notebook you find information about the customized Jupyter installation along with the installed libraries and modules. It will look similar to the following screenshot.
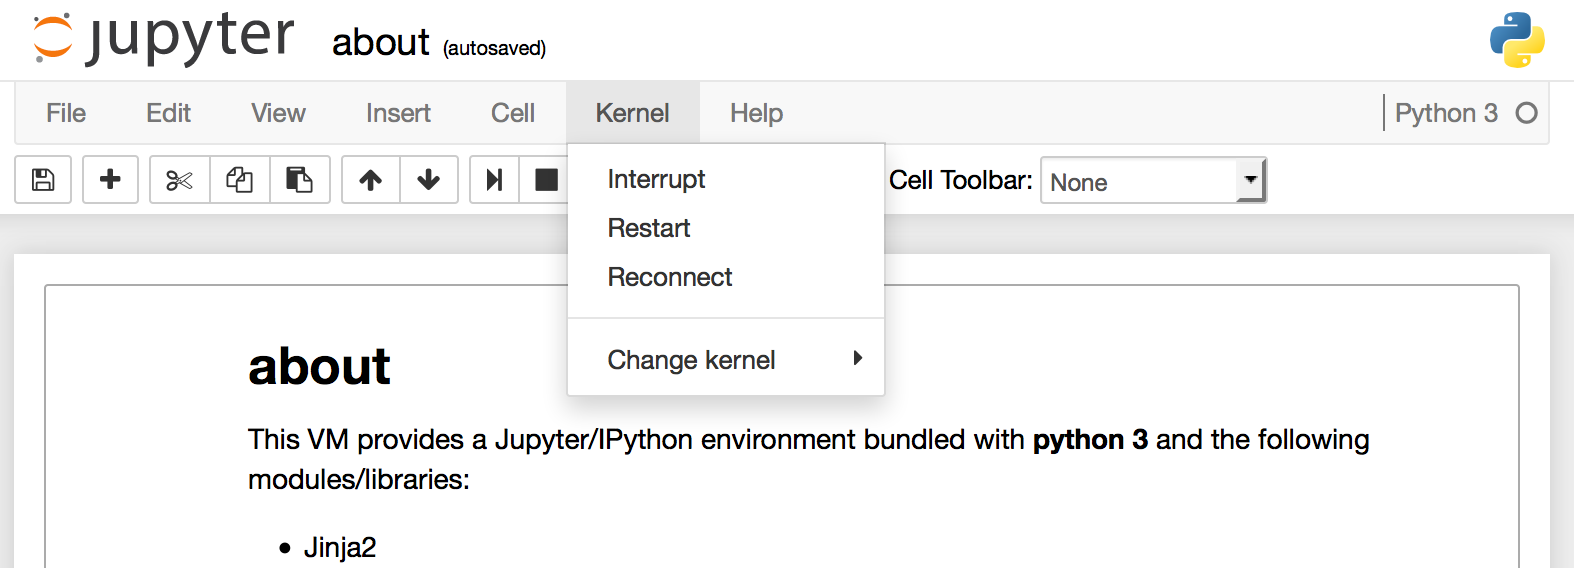
On the top right corner, you see the Kernel status. In this case it is running python 3. If you start working with the notebook, you submit the content of a cell to the Kernel where it is interpreted. The result is send back to the website and is displayed below the cell. If you need to restart or reset the Kernel, you can do this within the kernel menu as shown in the following screenshot.
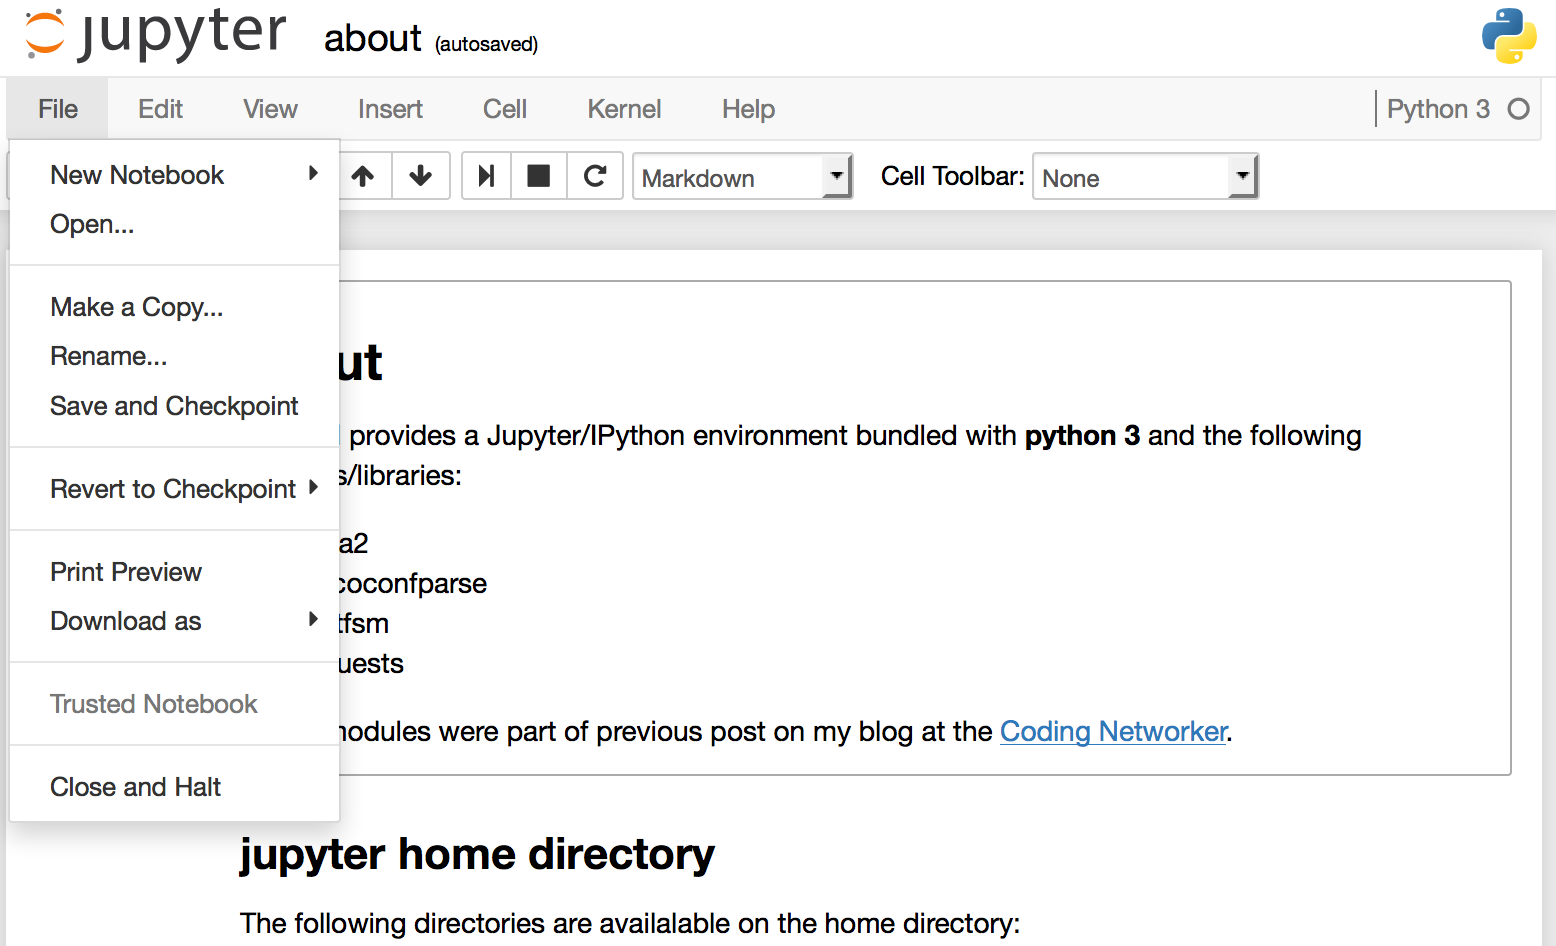
The other parts of the notebook user interface are straightforward, as you can see for example in the file menu. One important note at this point: If you start a notebook, a kernel is started at the server. If you close the browser, the kernel is still running in the background. If you like to terminate the kernel, you need to use the “Close and Halt” option from the file menu. If you need to restart the kernel without closing the notebooks, you can choose the “Restart” option from the “Kernel” menu.
The structure of Jupyter notebooks
A Jupyter notebook is structured in cells that are executed in the kernel running on the server. There are four cell types by default available in Jupyter:
- Code cells, where you can write your code
- Markdown cells, where you can document you process of coding
- Raw cells, which provide a place where you can write your output directly (these cells are not interpreted)
- Heading cells, where you can add markdown headings to structure your content
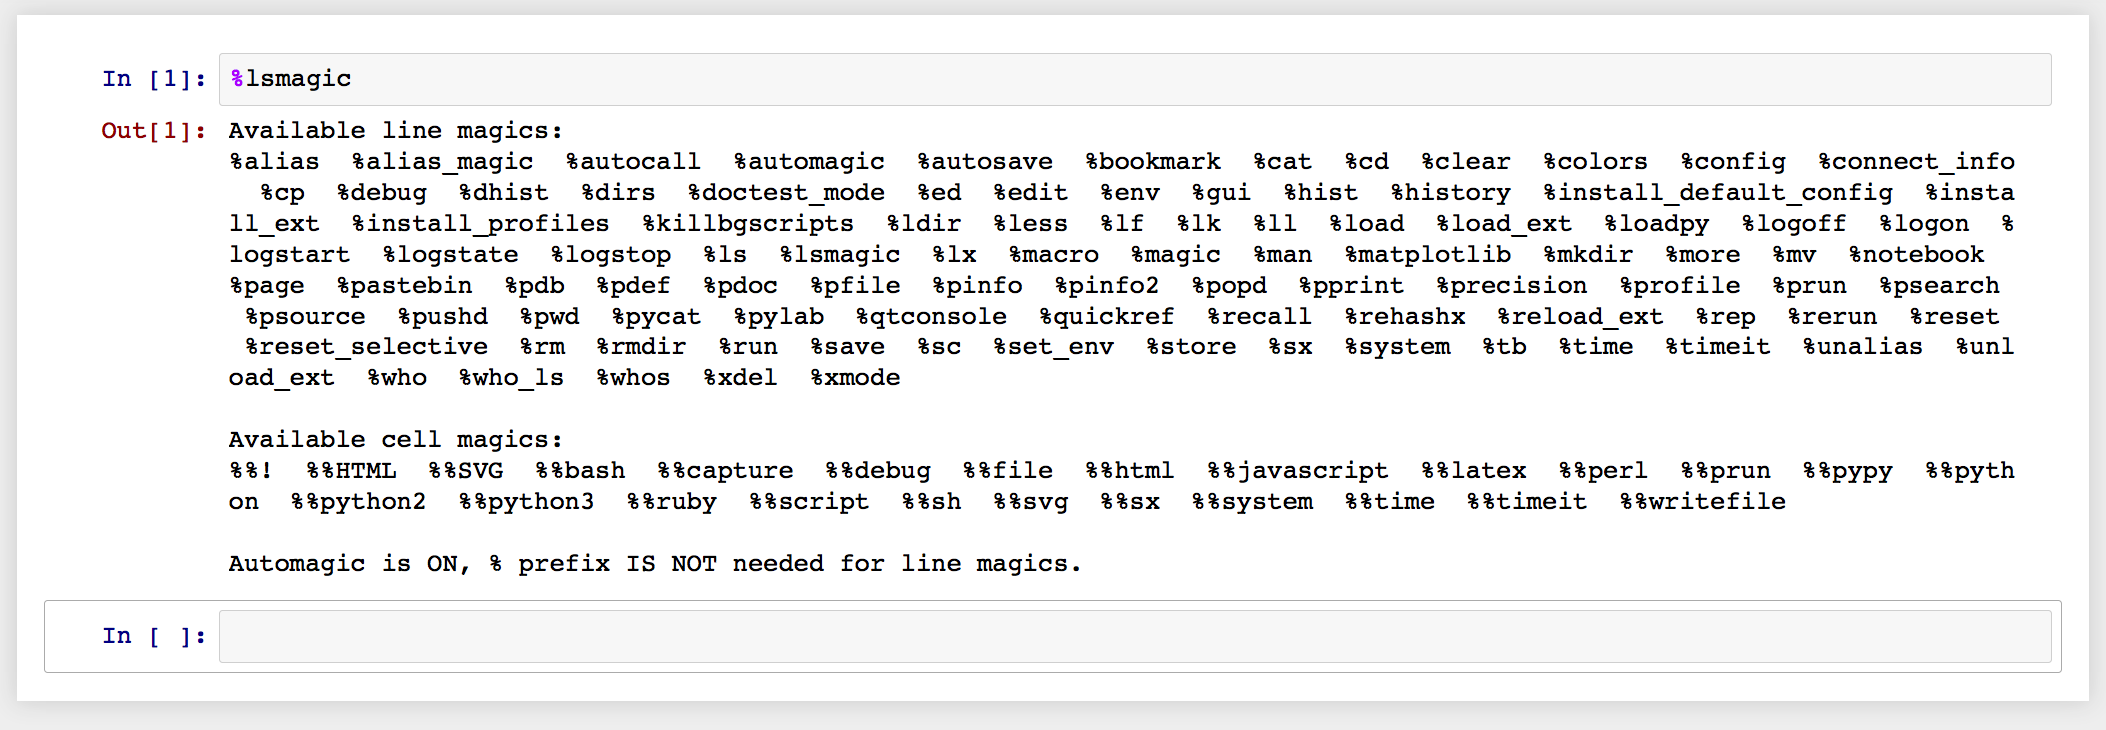
Within the cells you can also use “magic” commands. They are used for some advanced functions, e.g. to measure the execution time of a python statement or expression. Magic commands are prefixed with a %-sign. You can print a list with the available magic commands using %lsmagic in a cell, as displayed in the following screenshot.
Furthermore, you can execute bash commands in your notebooks using the !-sign, for example to display the contents of the current working directory.

Now, you can start to add cells to the notebook. I recommend at this point to visit try.jupyter.org and start to play with the environment. You find also a “Welcome to Python” notebook on this page.
Importing other notebooks
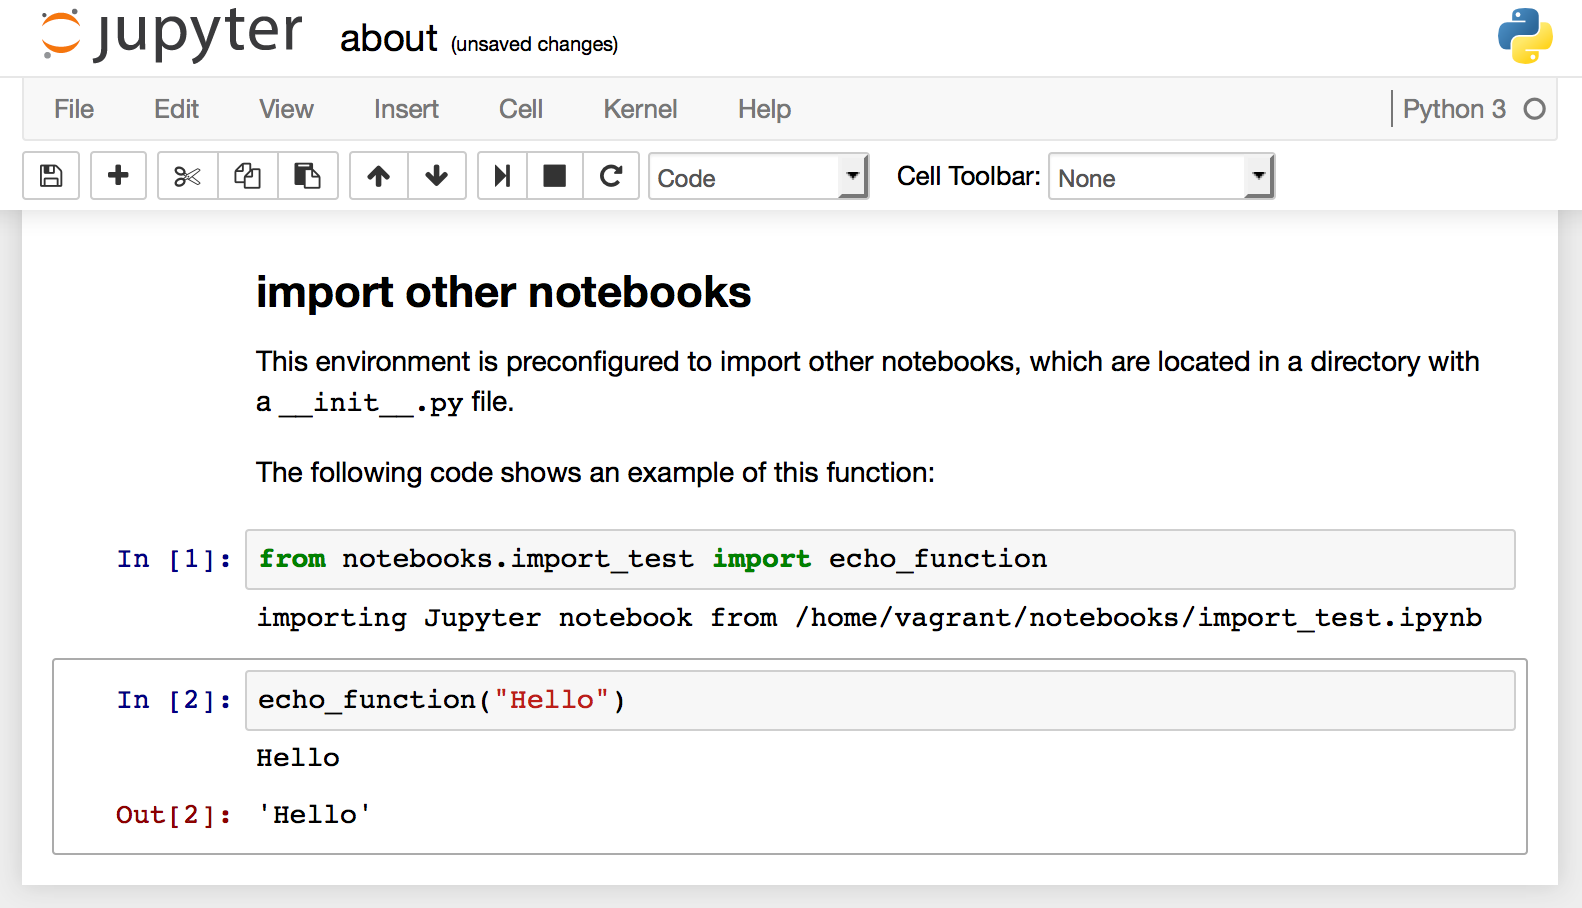
One option that I missed quite early during my work with Jupyter notebooks, was the ability to import other notebooks using the import statement. One way to add this functionality to Jupyter is to add a python script to the .ipython/profile_default/startup. All python scripts that are stored in this directory are executed during the initialization of a python Kernel. I bundled this functionality within the Jupyter installation from the python examples repository, based on the following discussion on stack overflow: ipynb import another ipynb file.
In the “about” notebook, you find some cells that demonstrates this functionality.
Conclusion
Jupyter is perfect from my perspective for two use cases that I had from time to time:
- provide a python environment on a server (e.g. to share a python script that accomplishes a certain task)
- easy-to-use environment to test and document code in the same user interface (e.g. when playing with new libraries)
It is also very helpful to get started with programming and/or scripting in python. If you like to host Jupyter notebooks on a server with some level of authentication, have a look at the Jupyterhub project on GitHub.
I’ll continue to use Jupyter for the python script example repository in the future, therefore I added the environment that I described in this post to the repository as already discussed. Some time ago, I had the idea of automated testing of network infrastructures (ping tests etc.) and I think this could be a possible environment for such a use case. If you have any thoughts on this idea, please leave a comment below. I’d like to hear your opinion on this.
Thank’s for reading.
Links within this post
- Jupyter project homepage
- IPython project homepage
- Jupyter documentation (readthedocs)
- Jupyterhub project on GitHub