Automate Cisco EoL checks using the Cisco EoX API (Product Database side project)
Update 21st July 2016: This post is about an older (outdated) version of the Product Database. To get information about the latest version, please take a look at the Product Database Project Page.
Today I’ll like to give you a brief introduction to a small Web service that I’ve created earlier this year: the Product Database. The primary functional goal of this Web service was to automate Cisco EoL checks using a central database. One of my colleagues discovered the Cisco API console at the beginning of 2015. This service provides REST API access to various information for Cisco Products (products, software, bugs etc.) and is available to Cisco Partners. You can read more about these APIs at the Cisco API console homepage. The Product Database use this service to get End-of-Live information about almost any Cisco product. This is the first data source that is used by the Web service.
One of my primary intentions to start this project was to get some practical experience with Test-Driven Development using python and Django. I read the book Test Driven Development with Python for this reason. The initial project structure of this Web service is taken from the examples of the book.
Disclaimer: The Web service is still under active development and some parts may change in the future releases (e.g. the REST API). Due to the Terms & Conditions of the Cisco API console, I’m not allowed to distribute credentials with this Web service or provide an initial database dump on my homepage.
The Idea and Use Case
The initial Use Case for the Web service was to automate EoL checks for Cisco products. After some writing on the code base, I quickly recognize that a central product database for multiple vendors would be a little bit more useful than just an EoL checker. For this reason, I decided to create a central database that (automatically) collects information from various sources (Cisco EoX API, Excel files) and provides this information on RESTful API endpoints. The following diagram outlines the primary idea.

Version 0.2 implements (only) two data sources: The Cisco EoX API, which is implemented as a cronjob that runs once a week and an Excel import to add pricing information to the products within the database. As mentioned at the beginning, the Web service is still under development, therefore more information sources will be implemented in future releases.
Installation and Setup
You can clone the entire repository from the Product Database Github repository. To start a test environment, you need Vagrant and Virtualbox (or another virtual environment) on your local machine. Within the repository, you find a Vagrantfile that is used to create the test server. Please open a shell/terminal window and execute the following command in the root of the repository directory:
$ vagrant up productdbPlease make sure that you are connected to the Internet. This command triggers the setup of a new Product Database server using Ubuntu 14.4 within a VM. After the download and initial configuration of the Vagrant box it will trigger the Ansible playbook for the Product Database. This playbook installs all dependencies and services to get the server working. The entire setup can take up to 30 Minutes (depending on your system configuration and internet performance). The server is then reachable on you local machine using http://127.0.0.1:16000.
The Ansible playbook assumes that the Product Database is the only service running on the machine, which may be relevant if you setup the Product Database on a standalone server. Within the build-scripts of the project, you find a staging template directory that contains the Ansible playbook, an inventory file and a shell scripts to setup the Web service on an external machine. Please note that this is only tested with Ubuntu 14.4.
Further details about the installation are available in the Product Database readme on GitHub.
The UI and Configuration
After the installation, open your browser and navigate to http://127.0.0.1:16000 (if you used the Vagrant installation). You will see a homepage similar to the following screenshot.
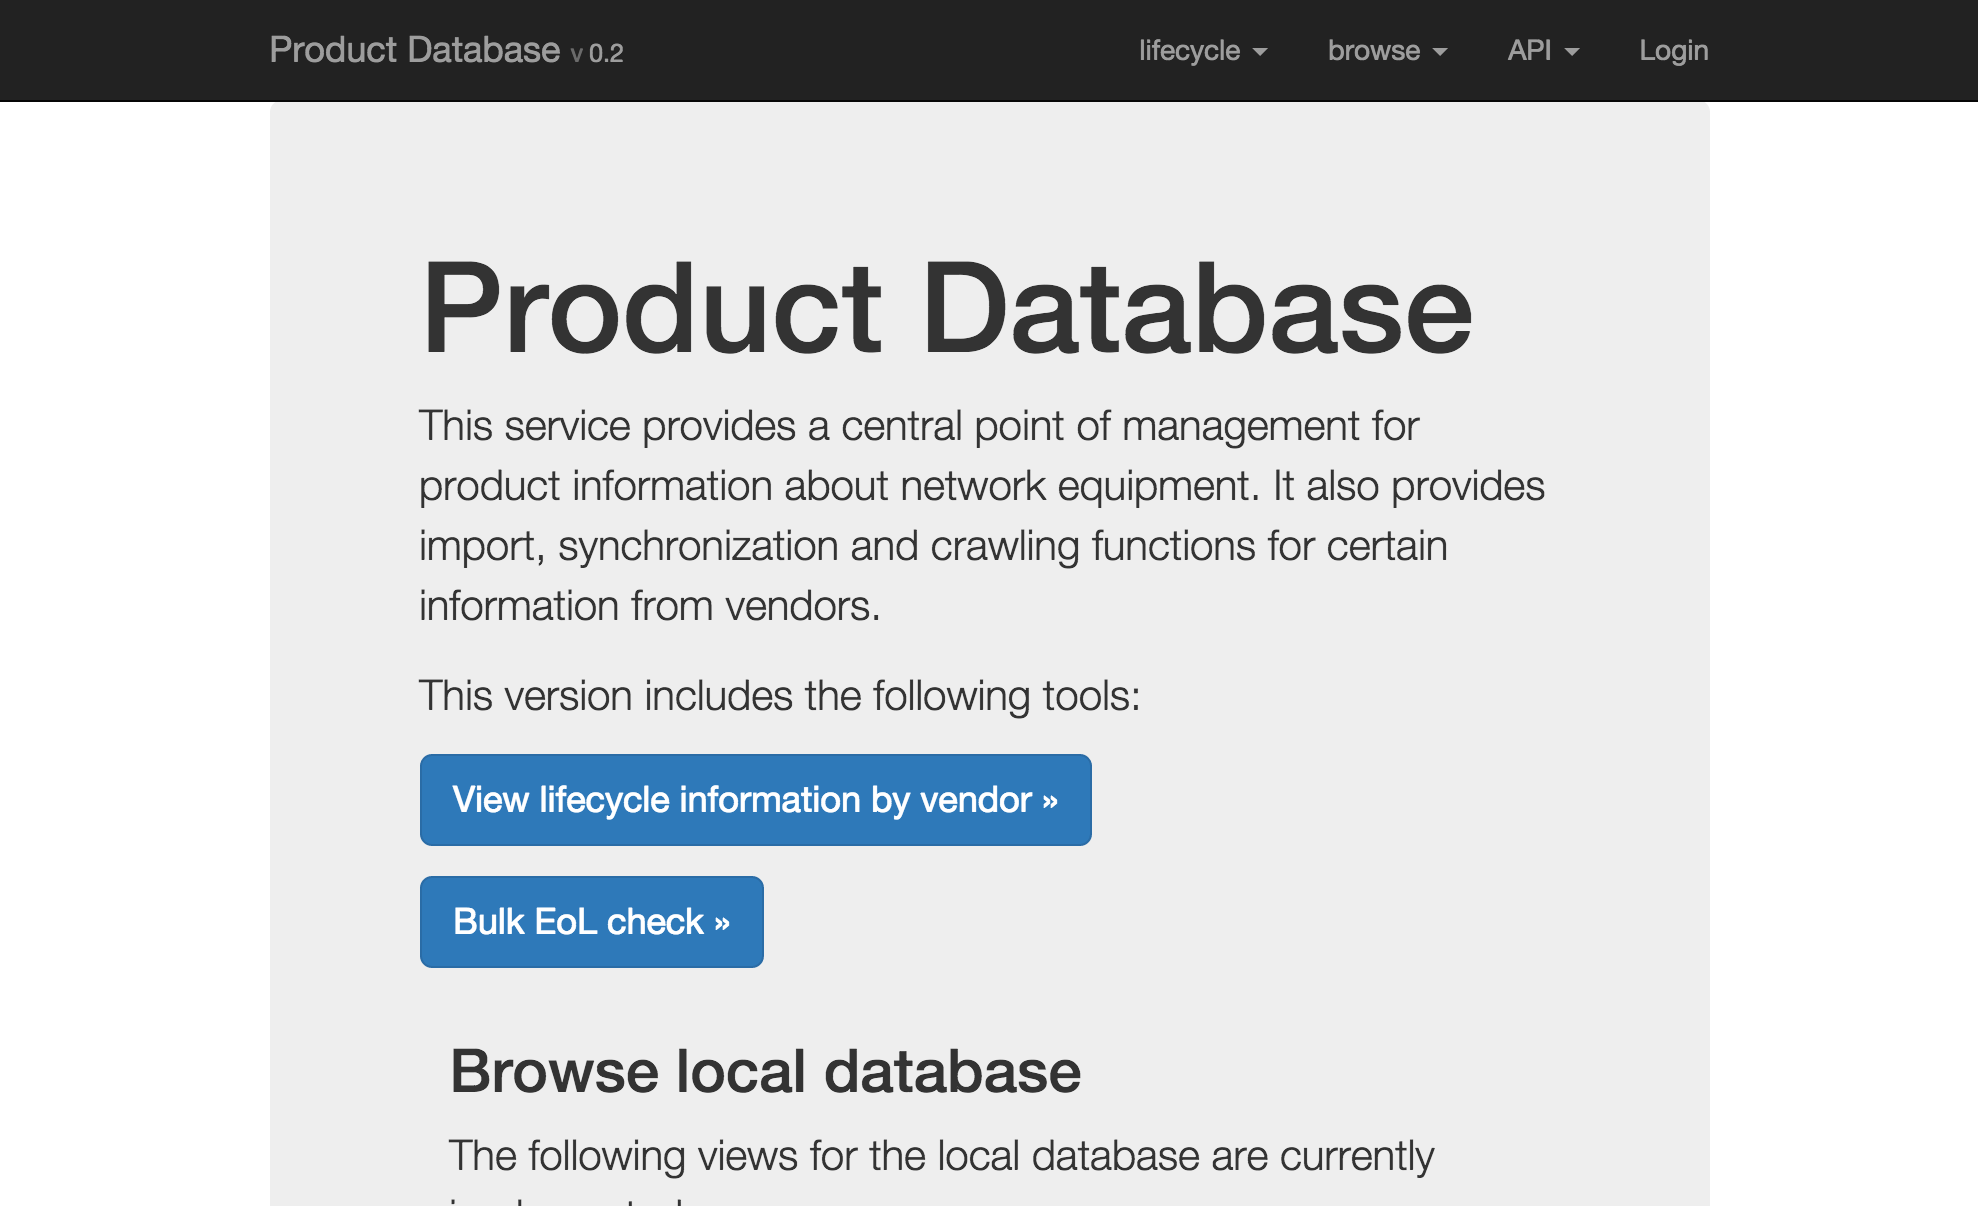
The navigation bar contains three main areas:
- lifecycle – show End-of-Sale/End-of-Life data
- browse – show products or product lists that are part of the database
- API – Links to the Django REST Framework web interface and the REST API documentation (Swagger pages)
To configure the Cisco EoX API access, you need to login to the Web service. Click on the login button and use the default username/password combination admin/admin. You can change the password and add additional users in the Django admin pages. After the login, you have access to the settings and import functions of the Product Database as outlined on the following screenshot.

The settings menus contains the following elements:
- main settings, where you enable the Cisco EoX data crawler
- crawler overview, which provides information about the task execution state and the backend status
- test tools, which are primarily for development
- link to the Django admin pages
At time of this post, the import option contains only the Excel upload for products. The primary use is to add pricing information from the global price lists to the database. The first step is to enable the Cisco EoX API crawler within the settings menu. You need to add you Cisco API credentials within the detailed Cisco API settings, as the following screenshot displays.
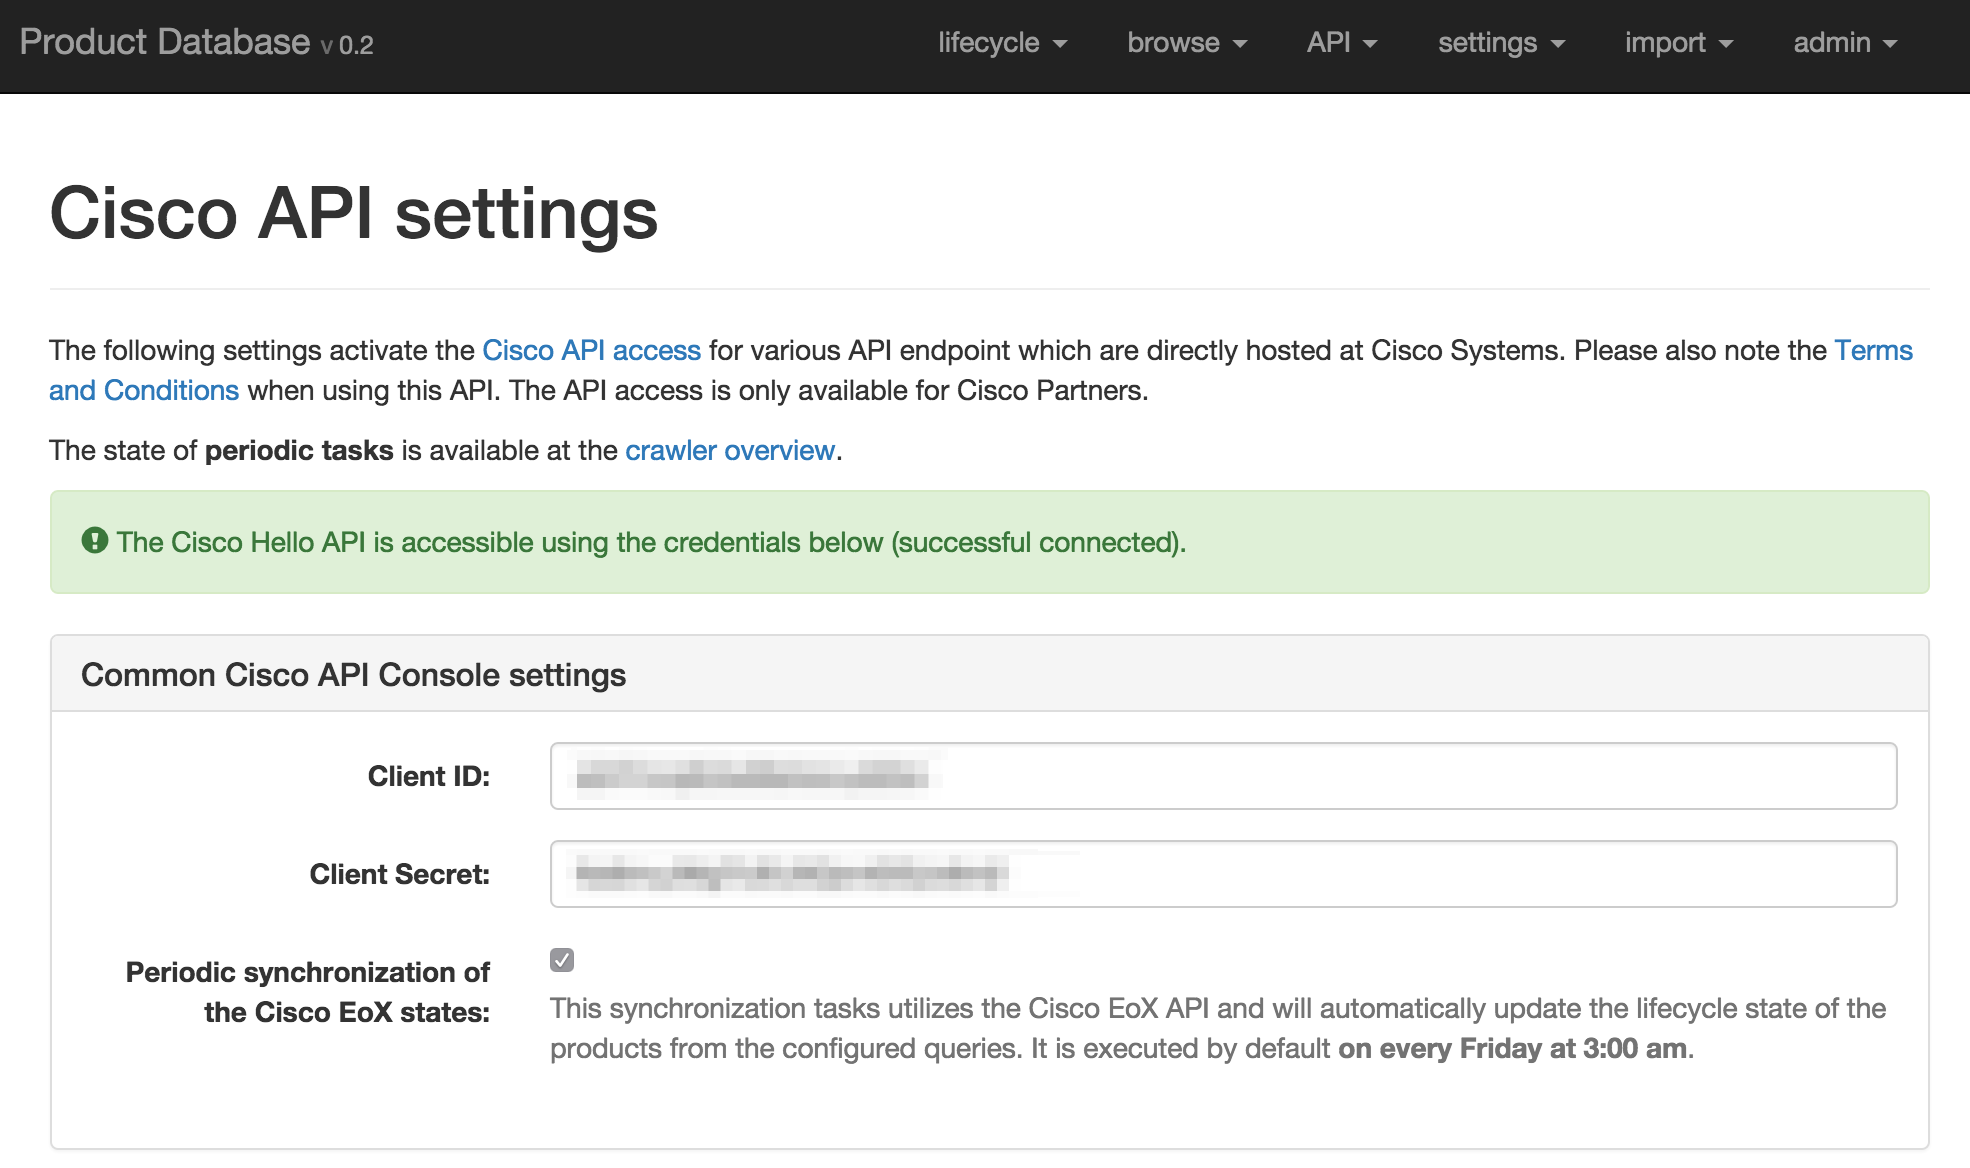
The credentials that are required to get the Product Database working need access to the Cisco Hello API and the Cisco EoX API (Version 4). This access permissions are defined in the Cisco API console. Furthermore, you need to enable the periodic synchronization of the Cisco EoX states. This will create a cronjob within the task backend that crawls the data from the Cisco API every Friday at 3:00 am. After you enabled the checkbox, you’ll prompt to add some queries that are executed against the Cisco EoX API, as the outlined on the following screenshot.
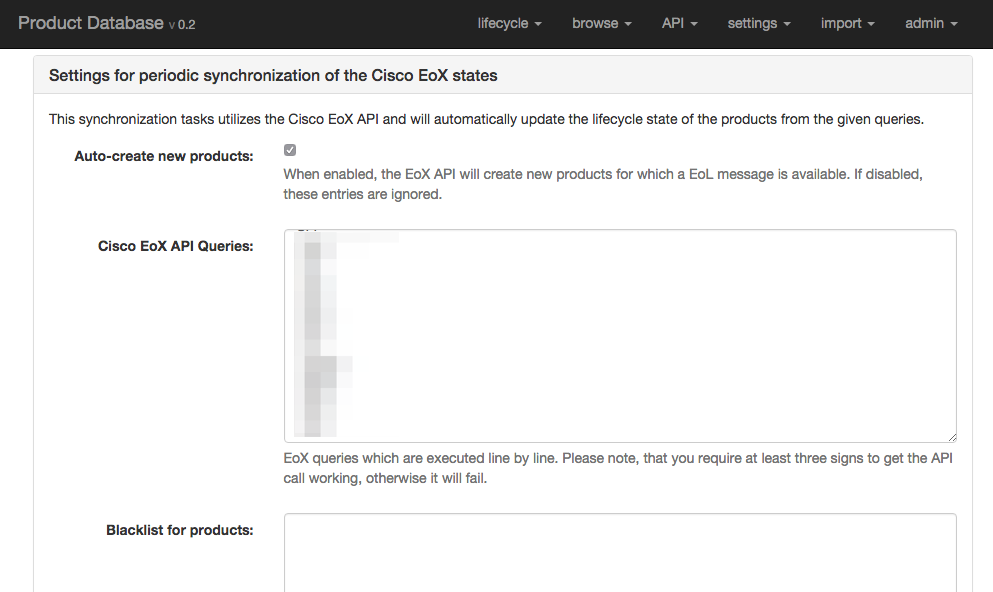
A query must contain at least three characters and you’re allowed to add wildcards. To query all workgroup switches (product parts that start with WS-), enter WS-* into the query list. You can add multiple queries separated by a line break.
Within the automatic Cisco EoX API crawler, you have two choices:
- update only the local data and ignore products that are not in the database or
- create products that are not part of the database.
The last option on the settings page is to ignore certain product numbers. After you configured the EoL check, you can manually trigger the synchronization with the Cisco EoX API on the crawler overview page (button “execute now”), as outlined in the following screenshot.
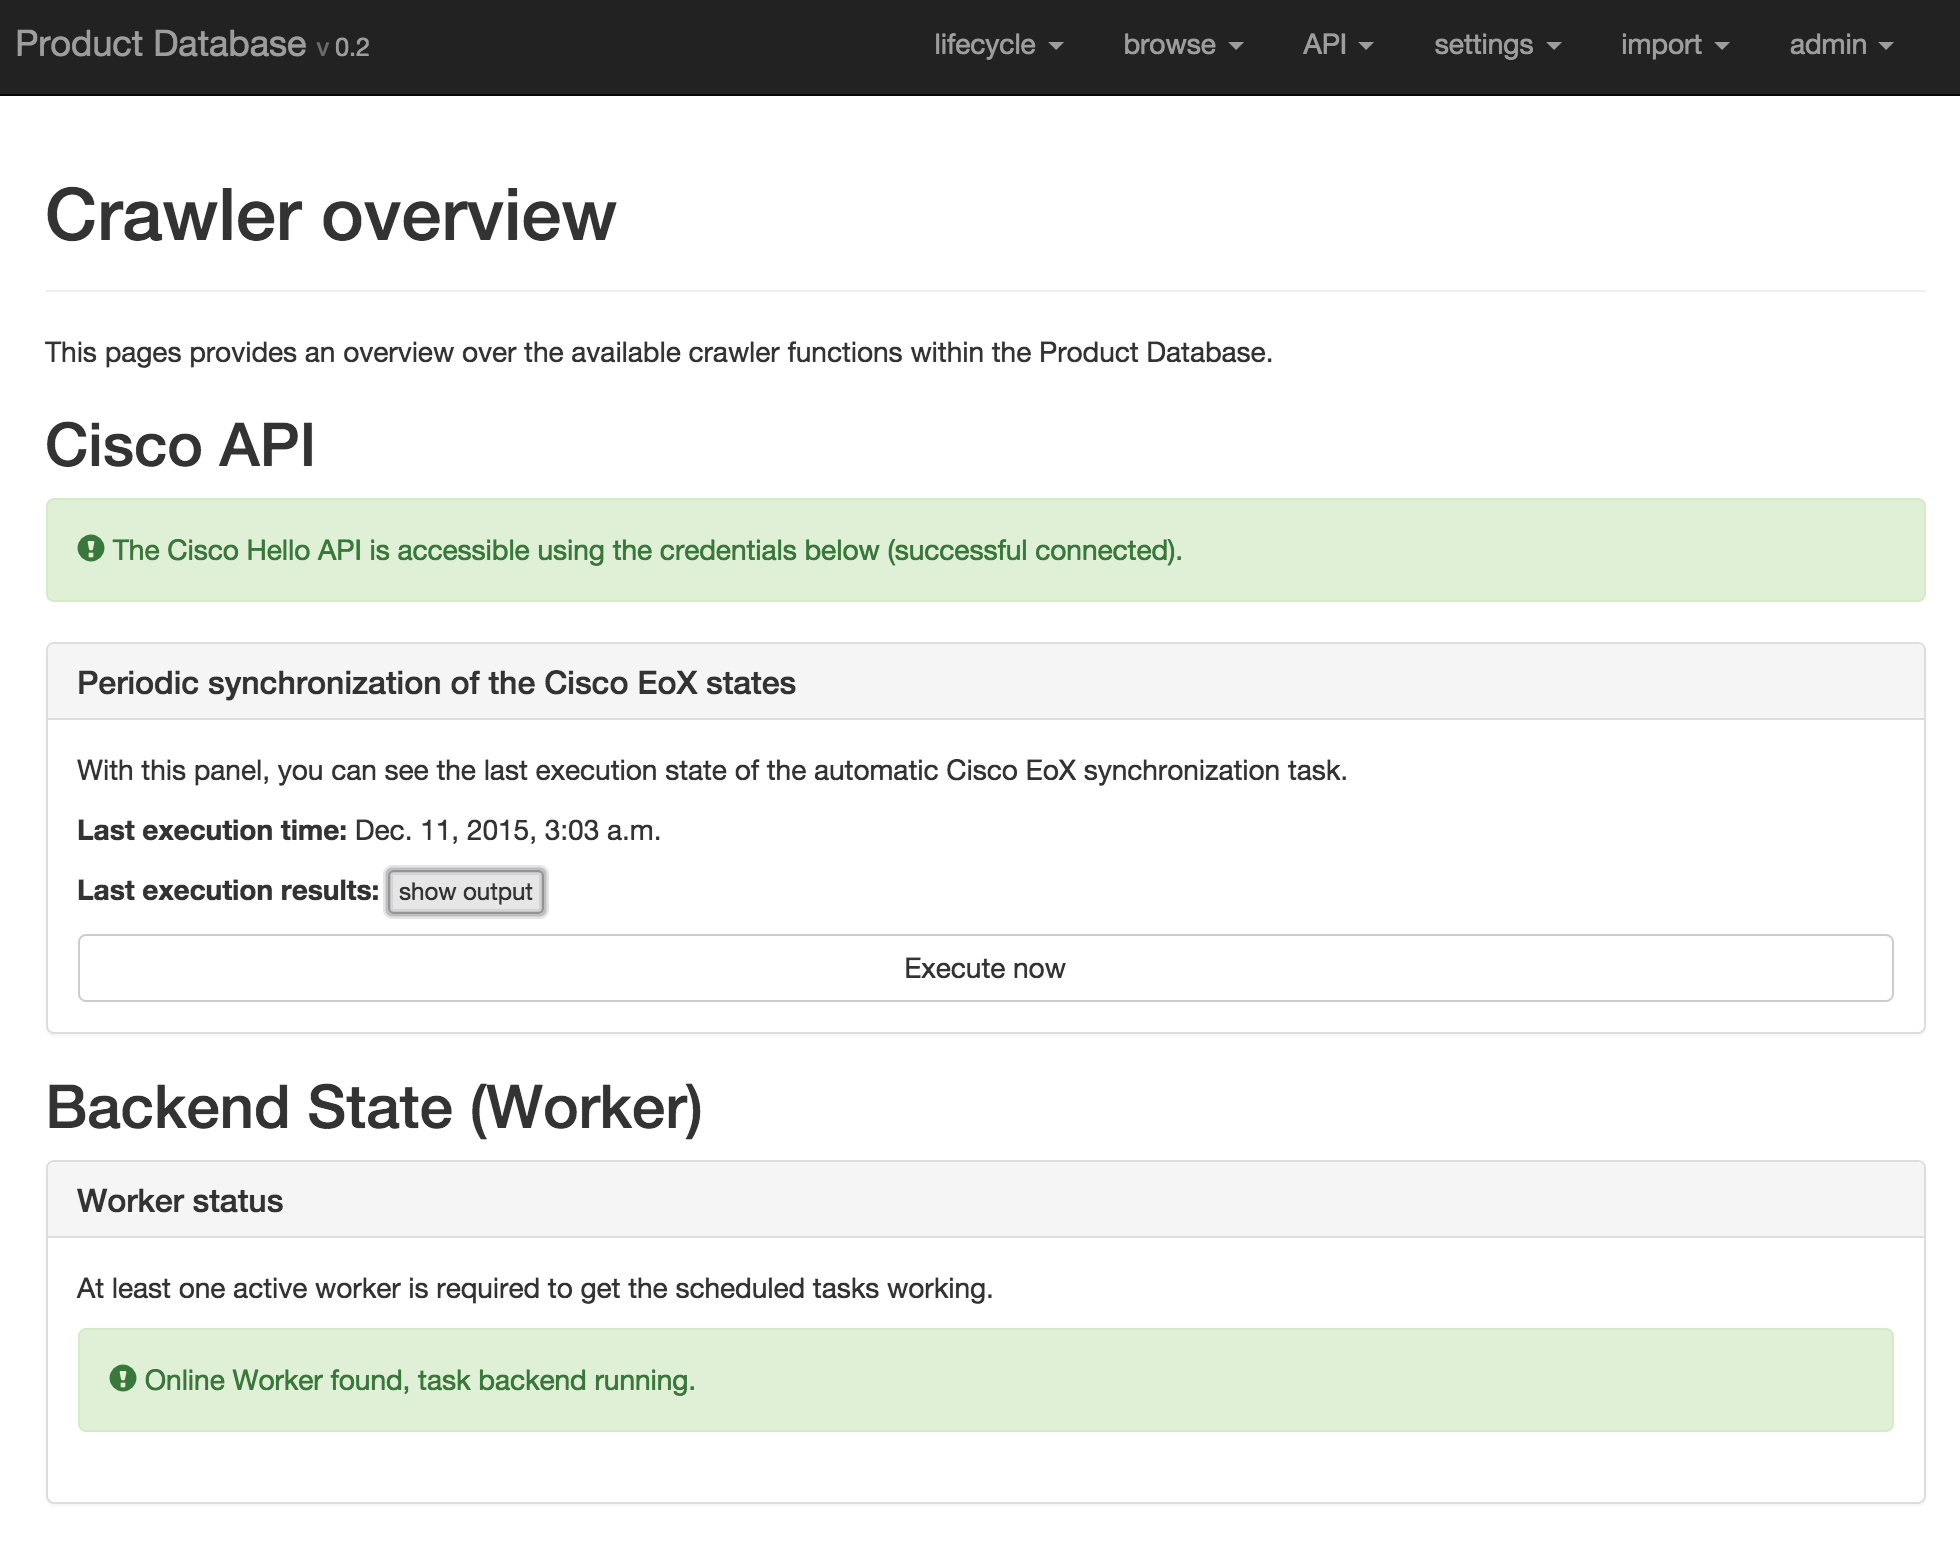
You also see the state of the worker thread that is running on the machine, which handles the synchronization task. After you start the execution of the crawler, the Product Database should connect to the Cisco EoX API, execute the defined queries and store the results locally. The results of the last task execution are visible as plaintext when clicking on the “show output” button as displayed in the previous screenshot.
Bulk Cisco EoL checks
To execute a bulk EoL check agains the local database, navigate to the “lifecycle” > “Bulk EoL check” menu option. You can insert various product IDs to the text field. These product IDs are used to perform the EoL check. The following screenshot outlines the data that are used within the test cases.

After you hit the submit button, the Web service will compute which products are affected by an EoL statement and creates a on-demand report. The following screenshot is the first part of the bulk EoL check results.
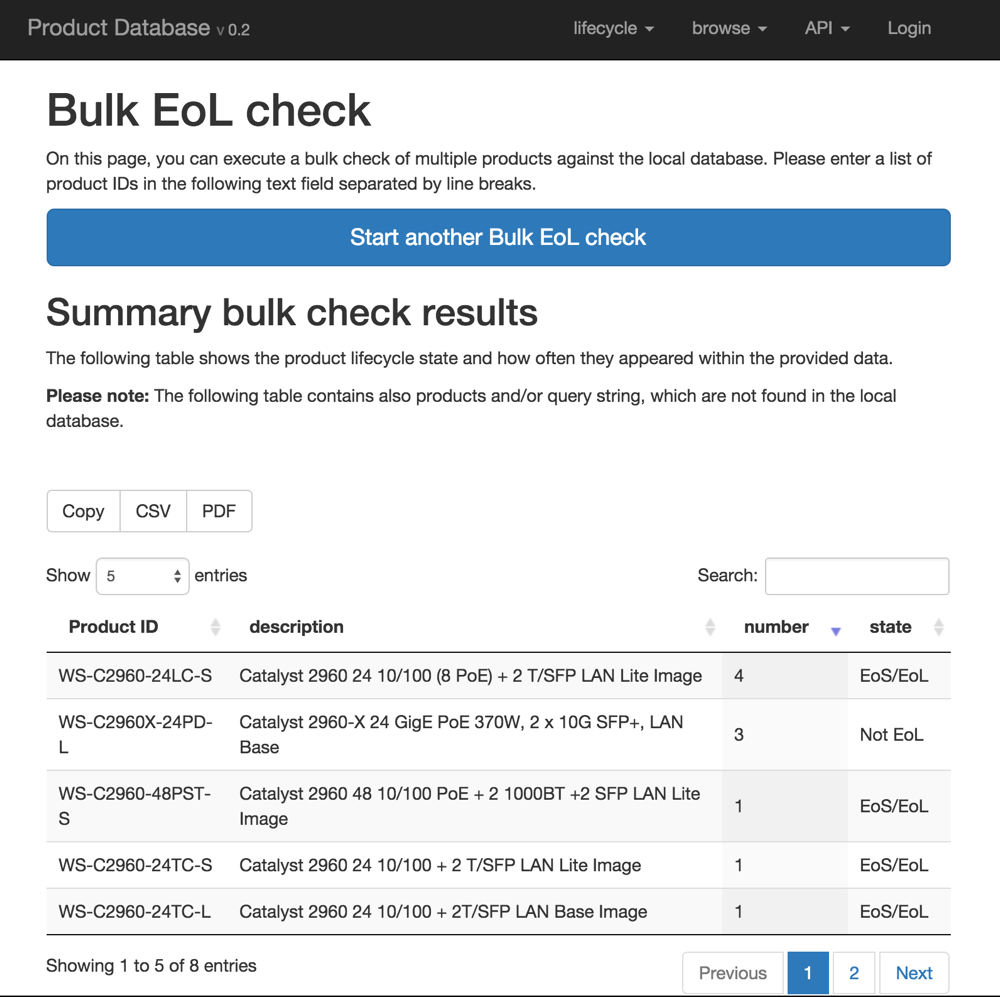
The first table provides an overview, which products are affected by an EoL announcement. It also counts the occurrence of a product ID within the original data. The next table in the report provides some detailed information about the EoL statements and a link to the EoL bulletin for every product. All tables can be downloaded as CSV or PDF file.
Excel based import of network products
The Excel import function is straightforward: The primary intention was to add pricing information using Excel to the product database (without calling the REST API 20000 times). If you navigate to the “import” > “import products” menu option, you provide an Excel spreadsheet with a defined format to upload product information into the database. On this dialog, you can also download an Excel template that defines the required input format.
Current limitations
The following limitations exists currently with the Product Database:
- The user management is only available in the Django admin using a local database
- There is currently no option to edit the local data within the user interface, only using the import functions or the REST API
- Only Cisco Systems and Juniper Networks are currently defined as vendors within the database, you can manually add addtional vendors but this is not tested
- You cannot modify the time, when the cronjob is executed
- The import products dialog is currently limited to 20000 entries per Excel file
That’s it. If you have any comments on that topic or trouble to get it working, please create an issue on the GitHub project page. Thanks for reading.